Skip to Main Content
1-519-342-3177Locate a Reseller
Back to Resources

BRIDGE Firmware Upgrade Procedure


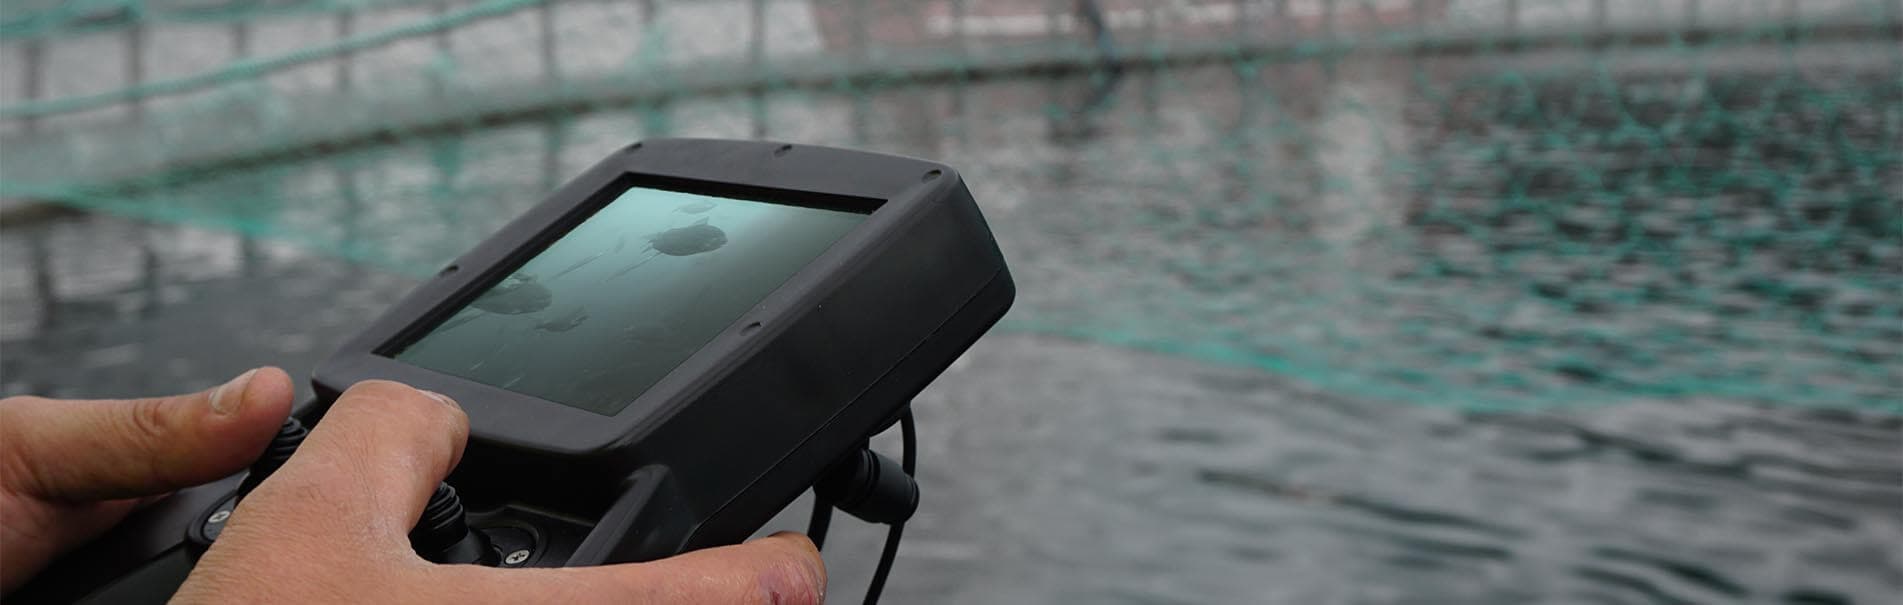
This document outlines the procedure for upgrading the firmware on BRIDGE products. Currently this includes the DTG3 and Revolution products and their associated controllers. Deep Trekker frequently releases firmware updates with new features, improved usability and bug fixes. It is advised to check occasionally for updates that may be available, this guide will outline that procedure.

What you will need:

  1. Controller and ROV
  2. Controller charger
  3. Access to a wired internet connection (typically a network router)
  4. Ethernet cable

Firmware Upgrade Procedure 3.0 & Over

  1. With the controller tethered to your vehicle, connect your controller to the internet by plugging in the ethernet cable. The ethernet port is located on the back of the controller.
  2. At this point, it is a good idea to plug the controller into an outlet during the updating process.
  3. Next, turn on the controller.
  4. Once the system has finished turning on, access the FACTORY MENU by simultaneously pressing the Function and both of the LED buttons.
  5. Using the left joystick, select “FIRMWARE UPGRADE” by hitting the Enter button.
  6. Next, click on “CHECK FOR UPDATES”.
  7. Once it has determined that updates are available, click on OK.
  8. The right side of the screen will show the current and new versions that are available.
  9. Now, select INSTALL UPDATES.
  10. If your controller is not plugged into an outlet, you will be prompted to so.
  11. Confirm you want to upgrade the firmware.
  12. Depending on your internet speed this process can take anywhere between 3 to 10 minutes.
  13. Once downloaded, the controller will automatically install the new firmware.
  14. Be sure to leave the controller on while this is happening.
  15. After the install is complete, click on ok to turn off the controller.
  16. Turning on the controller, you will be prompted that the upgrade was successful.

Firmware Upgrade Procedure 2.9 & Under

  1. Power up the controller while connected to an ROV.
  2. Plug in the controller charger.
  3. Connect the controller to the internet using the Ethernet port (Connect to a router, etc.).
  4. Check the firmware version of the controller: Settings -> Controller Settings -> Firmware Version.
  5. Enter the Factory Menu (press fn+LED1+LED2).
  6. Select "Firmware Upgrade".
  7. Select "Check Status", if you are connected to the internet this should now display "Internet Connected" on the right side of the screen.
  8. Select "Download Firmware", this will take many minutes to download the updates.
  9. Select "Flash Firmware".
  10. Reboot the controller.
  11. At this point the controller will be upgraded to a newer version and the instructions below can be followed.
  12. Enter the Factory Menu (press fn+LED1+LED2).
  13. Select "Firmware Upgrade".
  14. Select "Check for Updates", a popup will appear saying if any updates are available.
  15. The right side of the screen will show the current and any new versions that are available.
  16. If there are updates available a button "Install Updates" will show, select this.
  17. Your controller and ROV will now be upgraded to the latest available versions.

Ensure Optimal Water Tank Maintenance with Effective Inspection and Cleaning. Discover Best Practices and Essential Tools in This Comprehensive Guide

Industry Related Articles

Article Thumbnail

ROV Pilot 101: All You Need to Know

Learn all about remotely operated vehicle pilots: how to become one,...

Article Thumbnail

All You Need to Know about Sonar Systems

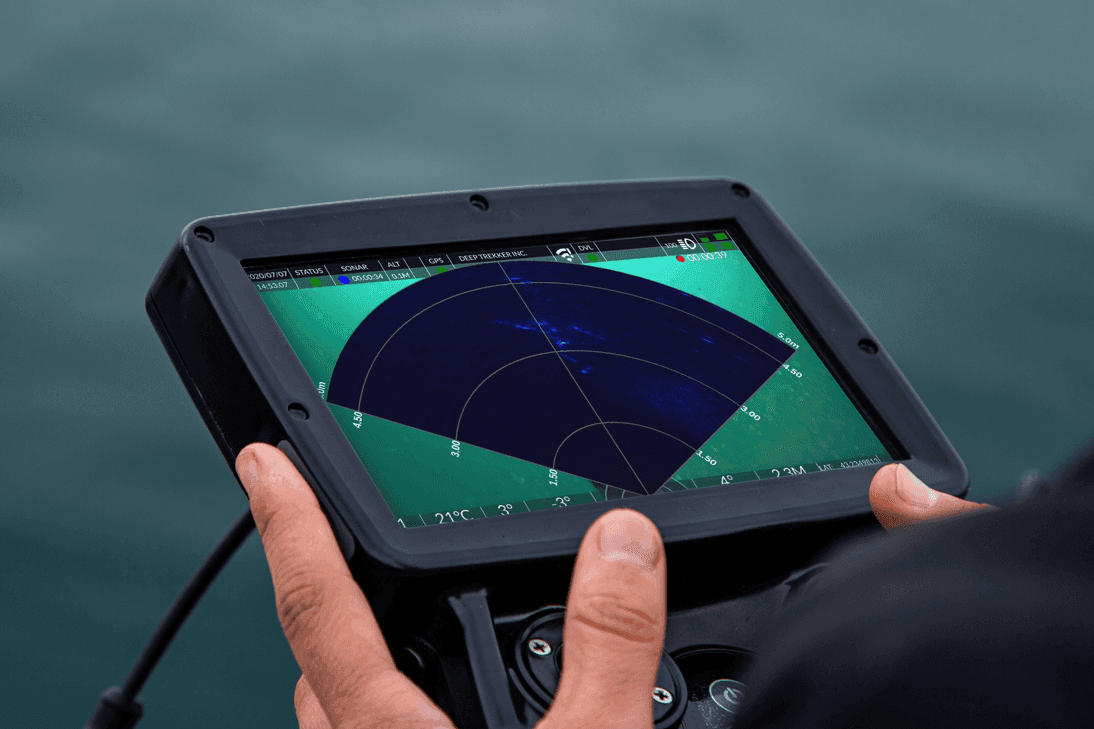
Learn more about what sonar is and its many uses. Read...

Article Thumbnail

Using Sonar for Tunnel and Infrastructure Inspections

ROVs and sonar can be used to inspect underwater structures such...

Learn More About Our Products

Looking for Resources on Our ROVs?

See What Our Customers are Saying